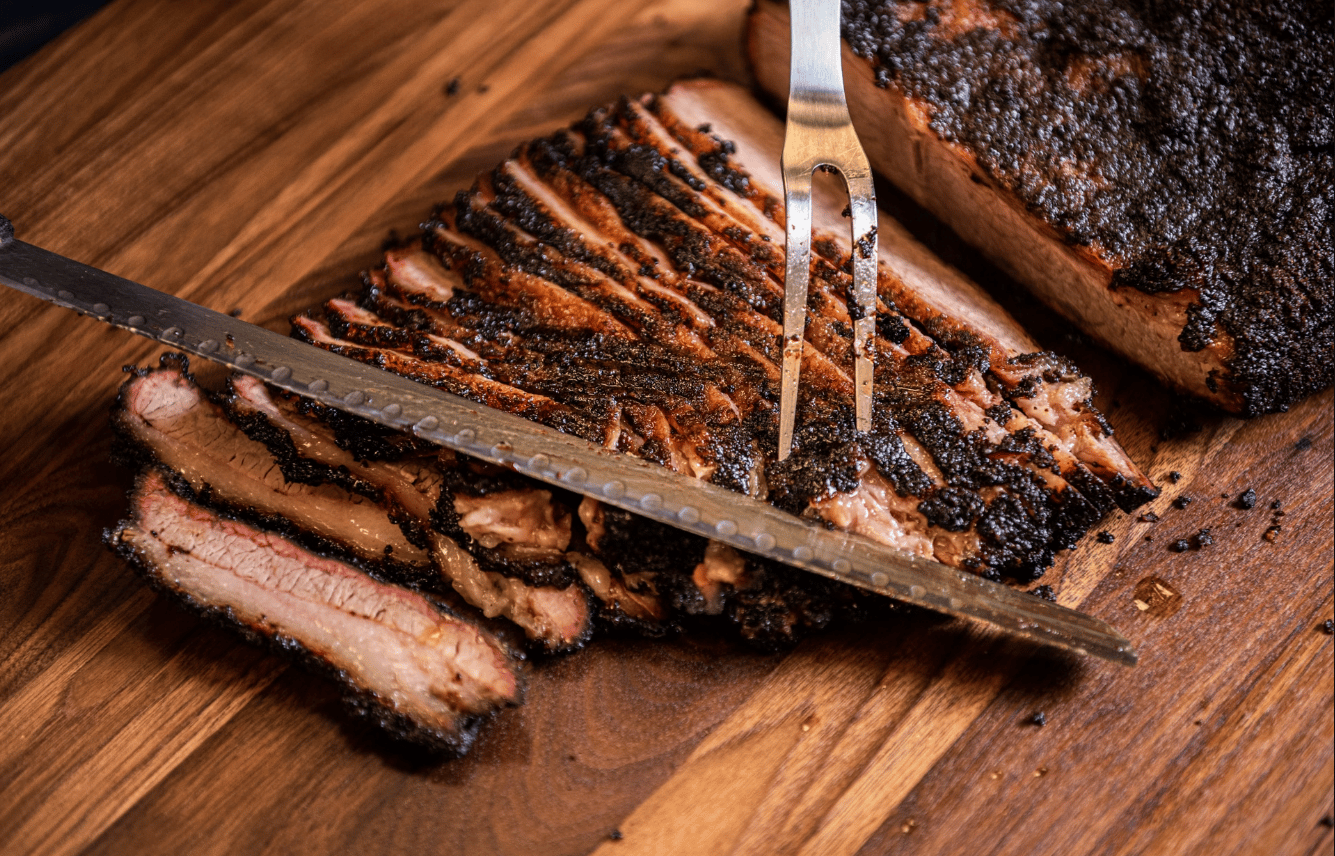
While smoking brisket in an electric smoker can take quite some time, there’s not really much that you need to worry about. Surely the time it takes to prepare in your smoker will pay off if you do it the right way.
As you read along, if you follow the steps below, you will learn what you need to do to have the perfect brisket prepared in your electric smoker.
Step by step guide to get the flavor you desire
Choosing the Right Brisket
When choosing your brisket, there are some things that you should keep in mind.
Flexibility
How flexible is the brisket that you are choosing to cook with? The brisket that you choose should be quite easy to bend. This would mean that the brisket has less connective tissue in it. A brisket with lots of flexibility will turn out much more tender when it is done the cooking.
Size and Weight
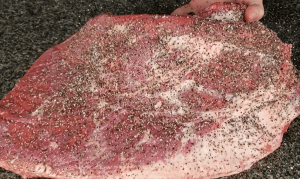
You’ll need to base the size of the brisket that you will need off of how many people you will need to feed as well as the size of your electric smoker. Also, how much money are you looking to spend; choosing a brisket should be based on your budget as well.
The Point and the Flat
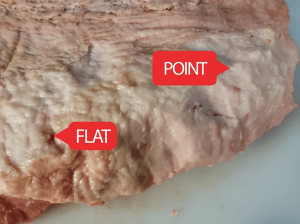
Consider the point and the flat of the brisket. The point is what is considered to be the fatter part of the brisket and the flat is the thin pare of the brisket. If you purchase a packer cut, it is brisket that doesn’t have the fat cut off of it yet. If you want to buy a packer cut then you should try to go with one that has a thicker than usual flat to ensure that you are still getting a decent amount of meat on both ends of the brisket. If your brisket will be frozen, you need to make sure you follow the defrosting instructions on the package.
Marbling
The marbling is the disbursement of fat within the thinner sections of the meat. The more marbling your meat has the better the quality of the meat is.
How to Trim Your Brisket
So after you have chosen your brisket, if it has fat on it (which most do), then you will need to start the process of trimming that fat away. The amount of fat on your meat will determine how the meat cooks, and overall how it will turn out.
Trimming the fat at the top of your brisket is quite important, because if you don’t trim enough of the fat on the top then you won’t get as much of a smokey flavor in the end.
However, you don’t want to trim too much of the fat off; keep just enough on so that moisture is able to be absorbed better, and so that your meat doesn’t dry out.
Trim All the Sides
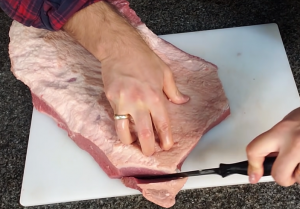
The sides of the meat are what you will want to trim first. Remove all of the loose fat, and work your way upwards towards the ends. Right between the flat and point you will see a thick layer of fat known as the deckle. This needs to also be removed. It’s important that your brisket stays as even as possible to ensure that it is thoroughly cooked in your electric smoker, (if you don’t own one yet check our review of the best electric smoker). You’ll want to leave about ¼ of fat on your brisket to ensure that it doesn’t dry out while it is cooking.
Add a Rub to Your Brisket
Once you have completed the trimming process of your brisket, it’s time to add a rub of your choice. You can make your own rub with an assortment of seasoning options; purchase a rub, or look up a rub recipe online.
Preheating Your Smoker
Now it’s time to fire it up! You need to pre-heat your smoker to 225 degrees and then add your selections of wood chips to your smoker box.
You need to make sure you try and choose a wood flavor that will complement the type of meat that you are smoking. Some labels on the back of chip bags will offer suggestions of what meat to use them with.
Managing Your Fire and Treating the Brisket
You’ll want to make sure that you always use dry wood when managing your fire. You’ll want your smoke coming out clean. Try not to add too much wood so that you don’t have black smoke because this will also affect the taste of your meat.
Cooking the Brisket
Allow your Brisket to Get Room Temperature
So, to start, you will need to take your brisket out of the refrigerator. It will need to thaw if it was in the freezer, but if it was just in the fridge you will just need to set it out so that it can become room temperature.
Placing Your Meat
When you are placing your brisket into the smoker, you need to make sure that you are placing it to where the fat side is facing upwards. This will ensure good moisture absorbency and easy distribution of flavors. However, if you have a smoker that has heat that comes from underneath the meat then the fat side should face downwards. You need to also make sure you are using a drip pan so that any waste is being caught and not making a mess during the cooking process.
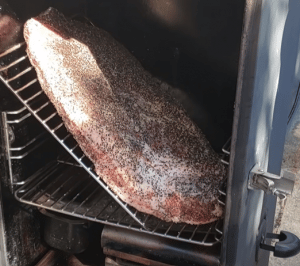
Set up Your Water Pan
Once you have placed your meat inside your smoker, you can now fill your water pan. Since the fire will absorb that majority of the moisture out of your meat while it is smoking, you will need to have your water pan inside the chamber to help the meat to absorb more of the smoke. So after you have added your water pan, you can now close the lid and let the electric smoker do its work. Just keep watch over the fire.
Keep the Lid Closed
You will want to keep that lid shut to keep smoke and the heat from escaping. The more you open the lid, the longer it will take for your brisket to cook. If you can go for a while without checking on the brisket then do that.
Three Hour Mark
During the first three hours that your meat is smoking is when the most smoke flavor will absorb. Once three hours is up, go ahead and open the lid and spray the meat with water, beef stock, or apple juice. You will need to do this every 30 minutes to an hour from here on out. This will ensure your meat stays moist.
Internal Temperature
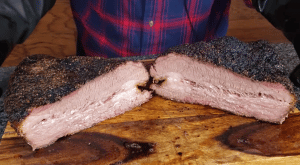
Your meat will be doing the cooking once it reaches an internal temperature of 195 degrees Fahrenheit. This could take up to 9 hours.
Noam
Latest posts by Noam (see all)
- Work with us - October 22, 2023
- Napoleon Grills Review - May 27, 2021
- Big Horn Pellet Grill Review - May 25, 2021

